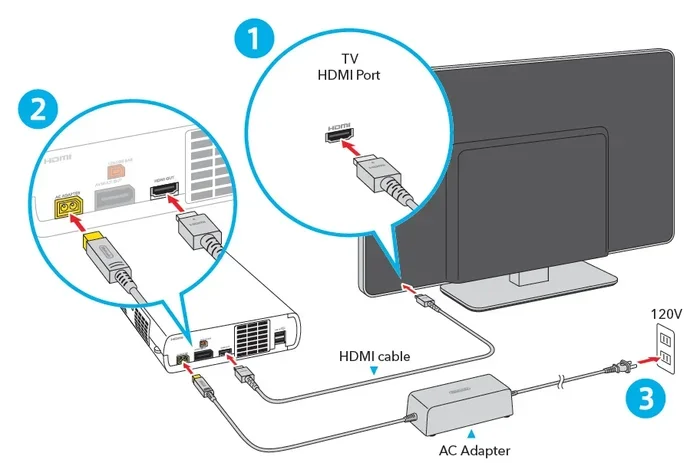
Can You Connect Snes To Hdmi And Get Great Quality
Yes, you can connect your SNES to HDMI and get great quality! With the right SNES HDMI adapter or AV to HDMI converter, your classic Super Nintendo looks stunning on modern displays. This guide walks you through every option, from budget pickups to premium upscalers, so you can enjoy retro gaming without the fuzz or lag.
Key Takeaways
- You need a converter: The SNES outputs composite or RGB signals, so you need an adapter to convert to HDMI for modern TVs.
- Quality varies by method: Budget AV-to-HDMI adapters work, but dedicated retro upscalers deliver the best picture.
- RGB gives the best results: Using an SNES RGB cable with a converter produces sharper colors and cleaner text than composite cables.
- No original SNES has HDMI: Nintendo never built HDMI into the SNES, so external hardware is always required.
- Modern TVs can struggle with retro signals: Without proper conversion, you may see flickering, lag, or poor image quality.
- Price ranges widely: You can spend as little as $15 or go up to $100+ depending on your quality needs.
📑 Table of Contents
Can You Connect Snes To Hdmi And Get Great Quality?
Here is the short answer: yes, you absolutely can. You just need the right equipment. The Super Nintendo Entertainment System was built in the early 1990s, long before HDMI existed. So the console itself does not have an HDMI port. But that does not mean you are stuck watching fuzzy, blurry games on a giant flat screen.
With a SNES HDMI adapter or an AV to HDMI converter, you can turn your classic retro gaming setup into a modern experience. The colors pop. The text is sharp. The games look better than they ever did on a CRT television. Whether you are a longtime fan or a newcomer exploring gaming nostalgia, getting your SNES on HDMI is easier than you think.
In this guide, we cover every method you can use. We compare budget options with premium choices. We explain the differences between composite cables, RGB cables, and upscalers. By the end, you will know exactly what to buy and how to set it up.
Why Connect Your SNES to HDMI?
You might wonder why bother at all. Plenty of people still own old CRT TVs, and they work fine. But there are some real advantages to using HDMI connectivity with your retro console.
- Better image quality: Modern TVs display at much higher resolutions than old CRT sets. A good converter takes the SNES signal and scales it up beautifully.
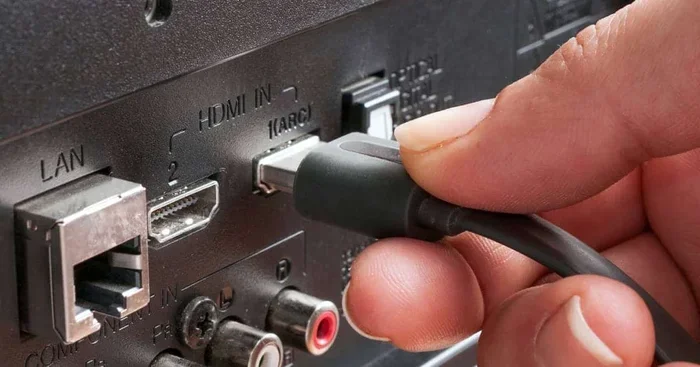
- Cleaner setup: HDMI cables are single-cable solutions. No more juggling red, white, and yellow RCA connectors. One cable connects your console to your TV.
- Modern TV compatibility: Many newer TVs do not even have composite inputs anymore. HDMI is the standard now, so you need a way to bridge that gap.
- Less interference: Old composite cables pick up noise and static. A digital HDMI signal stays clean from end to end.
- Easy sharing: HDMI makes it simple to record gameplay, stream your sessions, or hook your SNES up to a projector for a big-screen retro night.
Even if you love the nostalgic feel of a CRT, there is something special about showing off your classic console collection on a big modern display at a gaming meetup or family gathering.
Understanding SNES Video Output Options
Before you buy any adapter, it helps to understand what your SNES can actually output. The console has a few different video output choices depending on the model and region.
Composite Video (RF and RCA)
The most common SNES setup uses the included composite cable. This is the yellow, red, and white RCA cable that comes in the box. It carries a standard definition analog signal. On a CRT TV, this looks perfectly fine. On a modern flat-screen TV, it can look soft and blurry.
Some early SNES models also used RF adapters that connect to a TV’s antenna input. These produce the lowest quality image of all. We do not recommend using RF if you want to get the best results.
S-Video
Some SNES models support S-Video, which separates the color and brightness signals. This gives a noticeably better picture than composite. If your SNES has an S-Video port, this is a nice middle-ground option before moving to HDMI.
RGB (Japan and PAL Regions)
Here is where things get interesting. The Japanese version of the SNES (the Super Famicom) and the PAL European version support RGB output through the multi-pin AV port. RGB provides the best analog quality from the SNES. It delivers sharper images, more vibrant colors, and cleaner text compared to composite or S-Video.
To use RGB, you need a special cable and sometimes a regional console or a modification. But if you want the absolute best picture going into an HDMI converter, RGB is the way to go.
Methods to Connect SNES to HDMI
There are several ways to get your SNES signal onto an HDMI display. Each method has pros and cons. Let us break them down so you can choose what works best for your setup and budget.
Method 1: AV to HDMI Converter Box
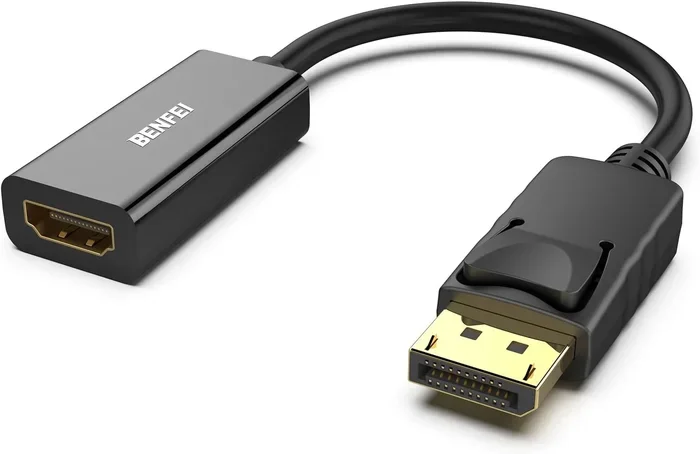
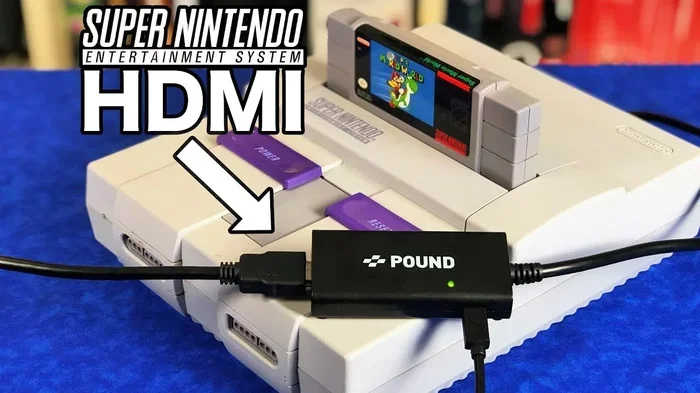
This is the most popular and affordable option. A small converter box takes the composite or RGB signal from your SNES and converts it to a digital HDMI signal. You plug the SNES cables into the converter, then run a single HDMI cable from the converter to your TV.
These boxes are widely available online. You can find basic models for around $15 to $30. They work well for casual gaming. The image quality is decent, but it depends heavily on the quality of the converter.
Quick Tips for AV-to-HDMI Converters:
- Look for a converter that supports 480p or 720p output for the sharpest picture.
- Make sure the converter accepts RGB input if you want the best quality.
- Some converters add a small amount of input lag. This usually does not matter for retro games but matters for fast-paced action.
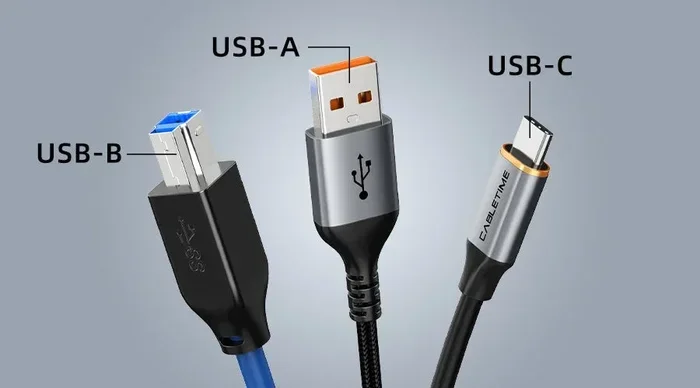
- Check if the converter needs external power. Most do, so keep a USB cable or power adapter handy.
Method 2: Dedicated Retro Upscaler
If you want the absolute best quality, a dedicated retro upscaler is the way to go. Devices like the RetroTINK or Analog RetroTINK are purpose-built for classic consoles. They do more than just convert the signal. They process the image to remove artifacts, sharpen edges, and output a clean HDMI signal.
The difference is night and day compared to a cheap converter box. Text is razor sharp. Colors are accurate. The image feels like it was designed for a modern screen.
However, upscalers cost more. You can expect to pay $100 or more for a quality unit. They are a serious investment for dedicated retro gaming enthusiasts.
Method 3: SNES HDMI Mod Chip
Some people choose to modify their SNES internally. A mod chip can add native HDMI output directly to the console. This means no external converter box is needed. The console outputs a clean digital signal on its own.
This is the most involved option. It requires opening the console and soldering components. It also voids your warranty if the console is still under coverage. But the results are excellent. The image quality is clean and the setup is simple since there are no extra boxes or cables.
If you are comfortable with hands-on electronics work, this is a fantastic long-term solution. Just make sure you follow detailed tutorials and take your time.
Method 4: USB Capture Cards (For Streaming and Recording)
Another option is to use a USB capture card. These devices are popular with streamers and content creators. You connect your SNES to the capture card using composite or RGB cables, and the capture card outputs the signal via USB to your computer. From there, you can display it on an HDMI monitor or stream it live.
Capture cards are not the best choice for pure gaming on a TV. They introduce some lag and are designed primarily for recording and streaming. But if your goal is to share your retro gaming sessions online, this is a solid choice.
Comparison of SNES to HDMI Methods
Not sure which method fits your needs? Here is a quick comparison of the main options.
| Method | Cost Range | Image Quality | Ease of Setup | Best For |
|---|---|---|---|---|
| AV to HDMI Converter Box | $15 – $40 | Good | Very Easy | Casual gamers on a budget |
| Dedicated Retro Upscaler | $80 – $200+ | Excellent | Easy | Quality-focused retro fans |
| SNES HDMI Mod Chip | $50 – $100 | Excellent | Difficult | Experienced modders |
| USB Capture Card | $20 – $80 | Good to Great | Moderate | Streamers and content creators |
As you can see, there is no single best answer. Your choice depends on your budget, your technical comfort level, and what you want to do with your SNES.
Tips for Getting the Best Picture Quality
Once you have your setup working, a few simple tips can make a big difference in how your games look.
Use the Right Cable
Do not cheap out on cables. A good quality composite cable or an RGB cable makes a noticeable difference. Cheap cables can introduce signal noise and reduce image clarity. Look for well-shielded cables from reputable brands.
Match Your TV Settings
Most modern TVs have picture settings that are optimized for live TV and streaming content. These settings can actually make retro games look worse. Try switching your TV to a “Game Mode” or a “Standard” picture mode. This reduces processing that can add lag or blur the image.
Check Your Converter’s Resolution
Some converters let you choose the output resolution. 480p is usually the sweet spot for SNES games. Going higher does not add detail because the SNES does not output in higher resolutions. But 480p looks much cleaner than the default 480i interlaced output.
Keep Your Setup Clean
Dust inside the SNES cartridge slot and on the connector pins can cause display issues. Give your console and cartridges a gentle cleaning every few months. A soft cloth and some contact cleaner go a long way.
Common Mistakes to Avoid
Even with the right equipment, people sometimes make setup mistakes that hurt their experience. Here are a few to watch out for.
- Using a low-quality converter: Cheap no-name converter boxes often produce poor colors, audio sync issues, and extra lag. Stick with brands that have good reviews.
- Ignoring audio setup: Some HDMI converters handle video well but pass through weak audio. Make sure your converter supports stereo audio output through HDMI.
- Plugging into the wrong port: HDMI ports on TVs are not all the same. Some are HDMI 1.4, some are HDMI 2.0. For SNES use, any HDMI port will work fine. But if you plan to use other modern devices too, check that your ports support the resolution you need.
- Forgetting about power: Many converter boxes need their own power source. Do not assume the HDMI connection alone will power the device. Read the setup instructions carefully.
- Overlooking the SNES region: If you have a Japanese Super Famicom or a PAL European SNES, make sure your converter supports the video format those consoles use. NTSC and PAL signals are different, and not all converters handle both equally well.
Bringing It All Together: Your Ideal SNES HDMI Setup
Now that you know your options, let us put together a recommended setup for different types of users.
For the casual gamer on a budget: Get a basic AV-to-HDMI converter box. It costs under $30 and gets the job done. Plug in your SNES composite cables, connect the HDMI cable to your TV, and you are playing in minutes.
For the quality-focused retro fan: Invest in a dedicated retro upscaler like the RetroTINK. Pair it with an SNES RGB cable for the cleanest possible signal. The image quality will rival modern games in sharpness and color accuracy.
For the hands-on DIYer: Go for an SNES HDMI mod chip. It takes some work, but once installed, your console outputs HDMI natively. No external boxes, no extra cables. Just clean digital signal straight from the console.
No matter which route you choose, the goal is the same: enjoy your favorite SNES games on a modern TV with great quality. Retro gaming should look and feel its best, and with the right HDMI setup, it absolutely can.
Also, if you are building a complete entertainment setup in your home, you might want to explore alternatives to traditional cable and satellite TV services. Cutting the cord pairs perfectly with a retro gaming setup, giving you a clean, modern entertainment experience without the extra boxes and subscriptions cluttering your living room.
Final Thoughts
Connecting your SNES to HDMI is one of the best upgrades you can make for your retro gaming setup. The console was designed to bring joy, and modern display technology lets you experience that joy with stunning clarity. Whether you pick a simple converter box or a premium upscaler, the result is worth it.
Start with the method that fits your budget and skill level. Experiment with cables and settings until you find the perfect picture. And most importantly, have fun playing those classic games the way they were meant to be seen.
The world of retro gaming is thriving. New accessories and solutions come out every year. Your SNES deserves to shine on a modern screen. So grab your favorite cartridge, set up your HDMI connection, and dive back into the games that started it all.
Frequently Asked Questions
Do I need a special cable to connect my SNES to HDMI?
You need an adapter or converter box, not a special cable. The SNES uses standard composite or RGB cables to connect to the converter, and then a regular HDMI cable goes from the converter to your TV. The converter does the heavy lifting of changing the signal.
Will my SNES games look like modern games on HDMI?
Not exactly. The SNES hardware has a fixed resolution, so you will not get the same detail as a modern game. However, a good converter or upscaler makes the image look much sharper and cleaner than it does on composite or CRT displays. Colors are more vibrant and text is easier to read.
Can I use any AV-to-HDMI converter with my SNES?
Most composite AV-to-HDMI converters will work. But for the best quality, look for a converter that supports RGB input and outputs 480p. Cheap converters sometimes add lag or produce poor colors, so check reviews before buying.
Is it hard to mod my SNES for HDMI?
It requires some soldering skills and patience. If you have never opened an electronics console before, it might be challenging. There are many detailed online tutorials that walk you through the process step by step. If you are comfortable with basic electronics, it is very doable.
Does connecting SNES to HDMI add input lag?
Some converter boxes introduce a small amount of input lag. For retro games, this rarely matters since older games were designed with some delay in mind. If you are sensitive to lag, look for converters specifically marketed as low-lag or game-friendly.
Can I connect a Super Famicom (Japanese SNES) to HDMI?
Yes. The Super Famicom outputs RGB video through its multi-pin AV port, which works well with most HDMI converters. You may need an adapter or a different cable to connect the Japanese AV output to a standard converter box. Make sure your converter supports the video format the Super Famicom uses.