Can I Replace My Laptop Screen With A Different Brand
Yes, you can replace your laptop screen with a different brand — but only if the screen matches your laptop’s model, connector type, dimensions, and mounting setup. This guide covers everything you need to know about laptop screen replacement, from compatibility checks to step-by-step instructions, so you can make a confident and safe upgrade.
Key Takeaways
- Compatibility is critical: Not every screen fits every laptop. You must match model number, connector type, dimensions, and mounting brackets.
- OEM and aftermarket screens both work: Aftermarket panels can save money, but OEM screens offer guaranteed compatibility and quality.
- Check your laptop model number first: This is the single most important step before purchasing any replacement display panel.
- DIY replacement is possible: With basic tools and patience, you can swap your laptop screen at home and save on repair costs.
- Watch for common mistakes: Damaging the bezel, bending the panel, or ignoring cable connectors are frequent errors beginners make.
- Warranty may be affected: DIY screen replacement could void your laptop warranty depending on the manufacturer.
- Test the new screen before reassembly: Always power on and verify display quality before putting everything back together.
📑 Table of Contents
- Can I Replace My Laptop Screen With A Different Brand? The Full Guide
- How Laptop Screens Work: Understanding the Basics
- What You Need to Check Before Swapping Screens
- Step-by-Step Guide to Replacing Your Laptop Screen
- OEM vs Aftermarket Screens: What Is Better?
- Common Mistakes When Replacing Laptop Screens
- Expert Insights on Screen Replacement
- Frequently Asked Questions
- Conclusion
Can I Replace My Laptop Screen With A Different Brand? The Full Guide
Your laptop screen cracks, flickers, or goes completely dark. It is frustrating. Naturally, you want a fix fast. So you start browsing replacement options and wonder: can I replace my laptop screen with a different brand?
The short answer is yes. But it is not as simple as grabbing any screen off the shelf. Laptop screen compatibility depends on several factors including your laptop model, screen dimensions, connector type, mounting brackets, and even the bezel design. Getting it right means a smooth DIY laptop repair. Getting it wrong means wasted money or even a damaged laptop.
In this guide, we will walk you through everything. You will learn how laptop screens work, what to check before buying, how to install one yourself, and what mistakes to avoid. By the end, you will feel confident about replacing your laptop screen with a different brand panel.
How Laptop Screens Work: Understanding the Basics
Before diving into replacement, it helps to understand what you are working with. A laptop display panel is more than just a flat piece of glass. It is a carefully engineered component that connects to your laptop’s motherboard through specific cables and ports.
Screen Connectors and Cables
Every laptop screen connects to the motherboard through a ribbon cable. The two most common connector types are:
- LVDS (Low-Voltage Differential Signaling): Older technology. Found on laptops made before roughly 2015. Uses a wider cable with more pins.
- eDP (Embedded DisplayPort): The modern standard. Thinner cable. Fewer pins. Faster data transfer. Used in most current laptops.
Your replacement screen must match the connector type. A screen with an eDP connector will not work in a laptop designed for LVDS, and vice versa. This is one of the biggest reasons people ask, “Can I replace my laptop screen with a different brand?” The answer often comes down to the cable and connector.
Resolution and Screen Size
Screen resolution and size also play a role. A 15.6-inch Full HD screen will not fit a 13.3-inch laptop frame. Similarly, a 4K panel may not work properly if your laptop’s graphics card and motherboard do not support that resolution.
Here is a quick reference for common laptop screen sizes:
- 11.6 inches — common on small netbooks and ultraportables
- 13.3 inches — standard for ultrabooks and thin laptops
- 14.0 inches — popular for mainstream laptops
- 15.6 inches — the most common size for standard laptops
- 17.3 inches — found on large gaming and desktop replacement laptops
Always match the exact size. Even a half-millimeter difference can cause fitting issues with the bezel and mounting system.
What You Need to Check Before Swapping Screens
This is the most important part. Rushing into a laptop screen replacement without proper research leads to problems. Here is exactly what to verify before purchasing any panel.
Match Your Laptop Model Number
Every laptop has a unique model number. This number tells the seller exactly which screen fits your machine. You can usually find it on a sticker on the bottom of your laptop or in your system settings.
When shopping for a replacement, provide this model number. Reputable sellers will confirm laptop model compatibility before completing your order. Never skip this step. It is your safety net.
Screen Dimensions and Thickness
Laptop screens are not all the same thickness. Modern panels are thinner than older ones. If you buy a thicker panel, it may not fit inside the laptop hinge assembly. A thinner panel might rattle or feel loose.
Check both the width and thickness. Some sellers list these specs. If they do not, look up the original panel’s specifications using your laptop model number.
Bezel and Mounting Brackets
The bezel is the plastic frame around your screen. Some screens come with their own bezel attached. Others do not. In some cases, you can reuse your original bezel. In others, you need a new one.
Mounting brackets are small metal or plastic clips that hold the screen in place. Different brands use different bracket designs. If the brackets do not match, you will struggle to install the panel securely.
Backlight Type
Some older screens use CCFL backlighting. Most modern screens use LED backlighting. Mixing these up can cause brightness issues or even damage the inverter board. Always confirm the backlight type matches your original screen.
Step-by-Step Guide to Replacing Your Laptop Screen
Now let us get practical. Here is a complete walkthrough for replacing your laptop screen at home. Remember to work on a clean, flat surface and keep small parts organized.
Step 1: Gather Your Tools
You only need a few basic tools:
- Phillips-head screwdriver (small size)
- Plastic spudger or guitar pick (for prying the bezel)
- Anti-static wrist strap (recommended but optional)
- Soft cloth or microfiber towel
- Your new replacement screen
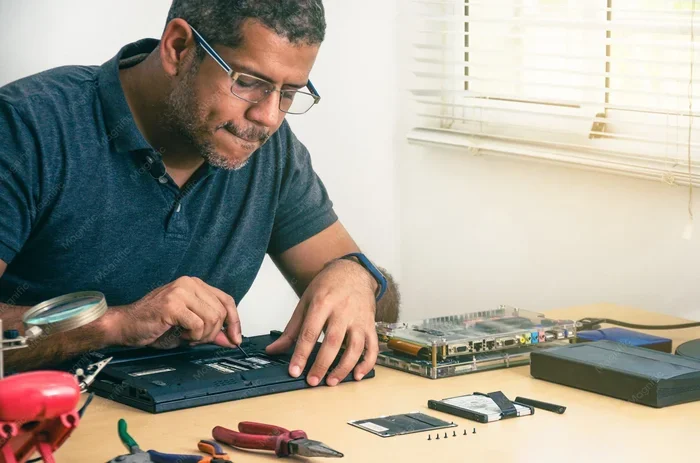
Step 2: Remove the Bezel
Start by powering off your laptop and disconnecting the charger. Remove the battery if possible. Then locate the screws holding the bezel in place. These are often hidden under small rubber feet or stickers.
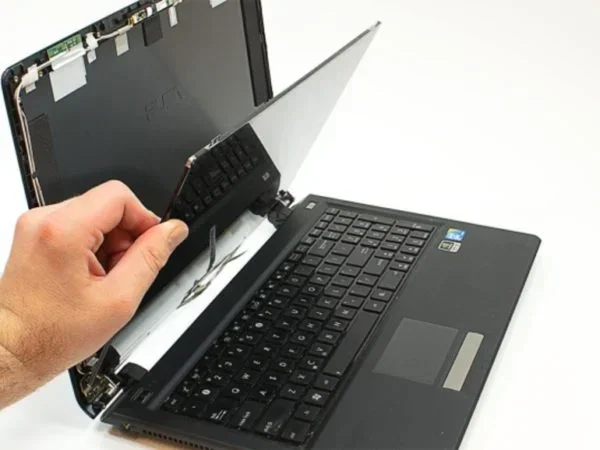
Use the plastic spudger to gently pry the bezel away from the screen. Work slowly. Do not use metal tools. You risk scratching or cracking the panel. Bezel removal takes patience, but rushing leads to damage.
Step 3: Disconnect the Old Screen
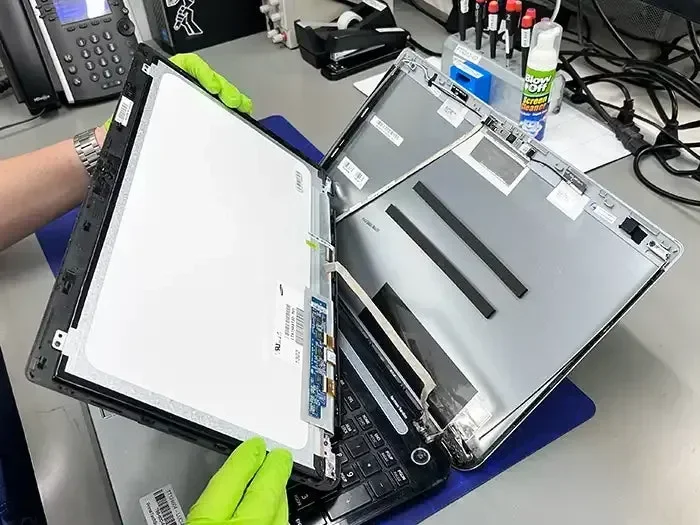
Once the bezel is off, you will see the ribbon cable connecting the screen to the motherboard. Carefully disconnect it. Some connectors have tiny latches. Others simply pull out. Note the direction and method before disconnecting.
Remove any mounting screws holding the panel in place. Then gently lift the old screen out. Set it aside safely.
Step 4: Install the New Screen
Place your new laptop display panel into the frame. Secure it with the mounting screws or brackets. Then reconnect the ribbon cable to the motherboard. Make sure it clicks into place firmly.
Step 5: Test Before Reassembly
This is a critical step. Before snapping the bezel back on, power on your laptop. Check the new screen for:
- Display brightness and color accuracy
- Any dead pixels or pixel defects
- Proper resolution settings
- No flickering or dim spots
If everything looks good, power off and reassemble the bezel. You are done!
Quick Tips for First-Timers
- Take photos at every step so you can reference them during reassembly.
- Keep all screws in a small container. They are easy to lose.
- Never touch the screen glass with bare fingers. Oils can cause permanent marks.
- If the ribbon cable feels stiff, do not force it. Recheck the connector type.
OEM vs Aftermarket Screens: What Is Better?
One of the biggest questions when replacing a laptop screen is whether to choose an OEM screen or an aftermarket screen. Here is a detailed comparison to help you decide.
Understanding the Difference
An OEM (Original Equipment Manufacturer) screen is made by the same company that supplied the original panel for your laptop. An aftermarket screen is produced by a third-party manufacturer. Both can work perfectly. But there are differences.
Comparison Table: OEM vs Aftermarket Screens
| Feature | OEM Screen | Aftermarket Screen |
|---|---|---|
| Price | Higher (often $80-$200+) | Lower (often $40-$120) |
| Compatibility | Guaranteed | Usually good, verify model number |
| Color Accuracy | Matches original specs | May vary slightly |
| Brightness | Consistent with original | Usually close, sometimes lower |
| Durability | Same build quality | Depends on manufacturer |
| Warranty | Often 1-2 years | Varies by seller (3-12 months common) |
| Availability | Limited for older models | Widely available |
When to Choose OEM
Pick an OEM screen if you want complete peace of mind. It is ideal if your laptop is still under warranty, if color accuracy matters (for design or photography work), or if you simply want the exact same experience as the original panel.
When to Choose Aftermarket
Aftermarket screens are a great budget-friendly option. They work well for everyday tasks, general use, and emergency replacements where cost is a concern. Many aftermarket panels offer excellent quality. Just buy from a reputable seller and confirm screen compatibility.
Common Mistakes When Replacing Laptop Screens
Even with the right screen, mistakes happen. Here are the most frequent errors people make during DIY laptop repair and how to avoid them.
Skipping the Compatibility Check
This is the number one mistake. People buy a screen based on size alone and ignore connector type, model number, and mounting brackets. Always verify every detail. One mismatch means the screen will not work.
Forcing the Bezel Back On
If the bezel does not fit easily, stop. Something is wrong. Forcing it cracks the plastic or damages the new screen. Recheck screw placement and panel alignment before pressing down.
Ignoring Dead Pixels
Before reassembly, inspect your new screen for dead pixels or pixel defects. A single dead pixel might seem minor, but it can be extremely annoying over time. Many sellers offer replacements for panels with dead pixels. Take advantage of that policy.
Damaging the Ribbon Cable
The ribbon cable is delicate. Bending it sharply or pulling it forcefully can break the connection. Always handle it gently. If the cable looks worn, consider replacing it along with the screen.
Forgetting to Remove the Battery
Working on a laptop while it is still connected to power creates a risk of electrical damage. Always remove the battery or disconnect from the charger before starting any laptop screen replacement project.
Overlooking Screen Brightness Settings
After installation, some users think the screen is too dim. Often, this is just a brightness setting that needs adjusting. Check display settings before assuming the panel is defective.
Expert Insights on Screen Replacement
We spoke with experienced laptop repair technicians to gather their thoughts on replacing laptop screens with different brands. Here is what they want you to know.
“The biggest thing I tell customers is that brand does not matter as much as specification,” says one certified repair specialist. “As long as the connector, size, mounting style, and model number match, a different brand screen will work perfectly fine. The key is doing your homework before buying.”
Another technician emphasizes testing: “Always test the new screen before closing everything up. I have seen people reassemble the entire laptop only to discover a faulty connection. Testing first saves a huge headache.”
Regarding aftermarket panels, most technicians advise caution mixed with openness. “Quality aftermarket screens have improved dramatically. You can save a lot of money. But buy from sellers with good reviews and clear return policies. If a deal seems too good to be true, it probably is.”
Key Takeaways from the Pros
- Specifications matter more than brand names.
- Always test before final assembly.
- Aftermarket can be excellent if sourced carefully.
- Take your time. Patience prevents damage.
- Keep your original screen if it might be repairable later.
Frequently Asked Questions
Can I replace my laptop screen with a different brand if the model number is the same?
Yes. If the model number matches, the screen is designed to be compatible with your specific laptop. Different brands can manufacture panels for the same model number. As long as the connector type, dimensions, and mounting brackets align, it will work.
Will replacing my laptop screen void the warranty?
It depends on the manufacturer. Some brands allow DIY repairs without voiding warranty. Others consider any third-party repair as a warranty breach. Check your warranty terms before proceeding. If your laptop is still under warranty, consider contacting the manufacturer first.
How do I know what screen my laptop needs?
Find your laptop model number, usually on the bottom sticker or in system settings. Then search for that model number along with “replacement screen.” Reputable sellers will confirm compatibility. You can also check the original screen’s specifications printed on a label on the back of the panel.
Can I use a higher resolution screen in my laptop?
Sometimes. The screen must physically fit and connect properly. However, your laptop’s graphics card and processor must also support the higher resolution. Check your system specifications before upgrading to a higher-res display panel.
What if my replacement screen has dead pixels?
Most reputable sellers have a dead pixel policy. A few dead pixels may be acceptable under manufacturer standards. Contact the seller and request a replacement. Always test your new screen immediately after installation to catch this issue early.
Is it hard to replace a laptop screen myself?
It is moderately easy. If you are comfortable using a screwdriver and working carefully, you can do it. Most replacements take 20 to 45 minutes. The hardest part is usually removing the bezel without breaking it. Watch a video tutorial for your specific laptop model before starting.
Conclusion
So, can I replace my laptop screen with a different brand? Absolutely yes — with the right preparation. Compatibility is everything. Check your model number, verify connector type, confirm screen dimensions, and ensure mounting brackets match. Whether you choose an OEM panel or a quality aftermarket option, the process is the same: take your time, test before reassembly, and handle every component with care.
Laptop screen replacement does not have to be expensive or intimidating. With this guide, you have the knowledge to do it yourself safely. Save money. Learn a valuable skill. And get your laptop back to full working order. You have got this.